Fitting Roof Rack Rails

Decided to fit roof rack rails to my Hilux last weekend.
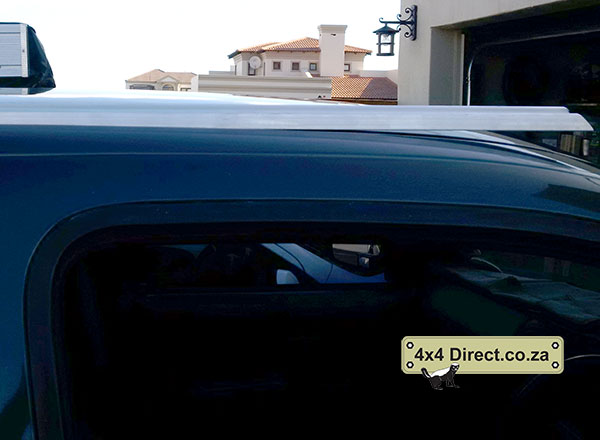
On my Hilux (1999) there is a covered gutter on the roof. When I removed the covers I found lots of rust under the covers and decided to keep the covers off and fit the roofrack rails over the gutter.
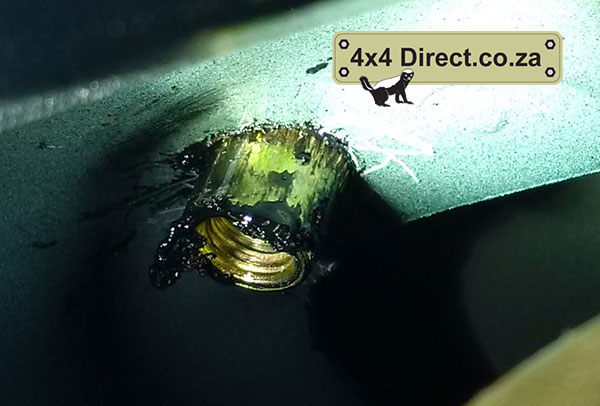
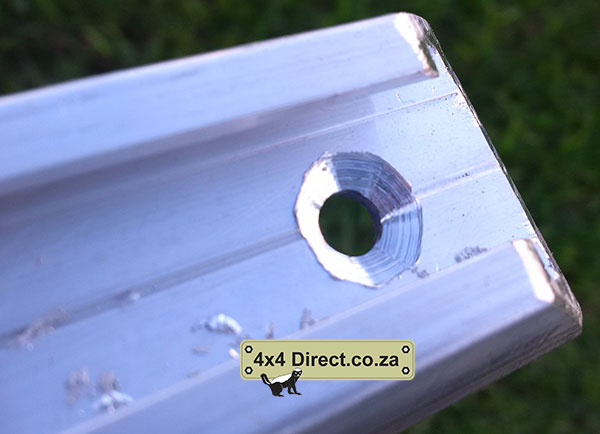
This looks nice but was not the cleverest idea I have come up with recently. The reason; the metal in the gutter is extremely strong, that is where they joined the roof plates with the side panel plates. But in some areas it is too thick and the rivnuts do not properly flare. In the area where my front bolt is it looks like 4 different plates are coming together there and if you look at the inside of the roof you can see the result is that the rivnut did not mushroom properly.
If you do want to install your roofrack rails over the gutter I suggest you rather drop the roof lining and use screws with washers and nuts instead of rivnuts.
The best place to fit the roofrack rails is just outside the gutter because the roof will still be strong there, but you will only have one or two plates to drill through.
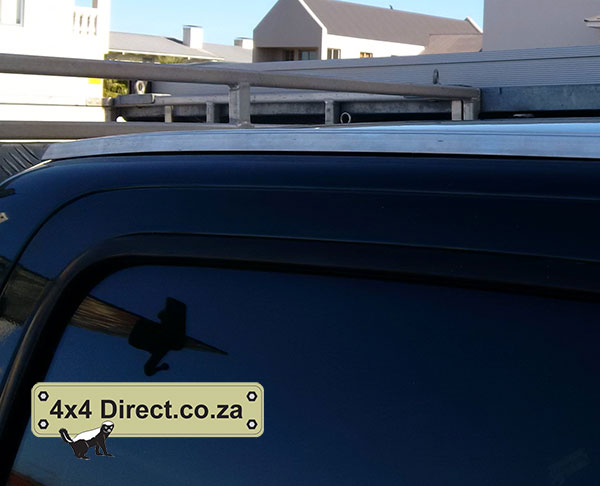
I used a 1.6 meter long roof rack rail, sourced from the best 4×4 DIY store in South Africa, 4x4DIrect. I used a 1.6 meter rail because I wanted to replace the factory fitted gutter covers. If you fit your roof rack rails next to the gutters you can use 1.5 meter or even 1.2 meter length.
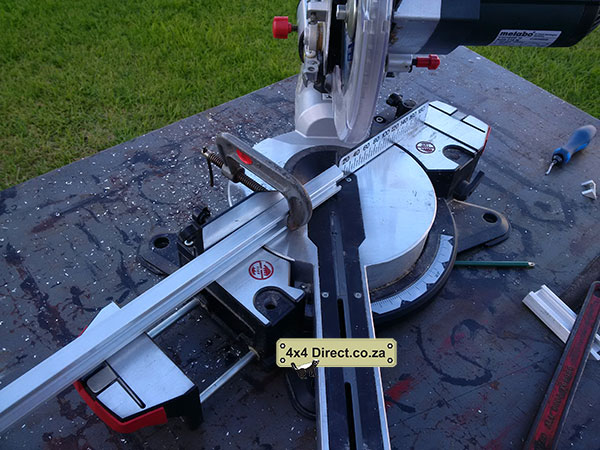
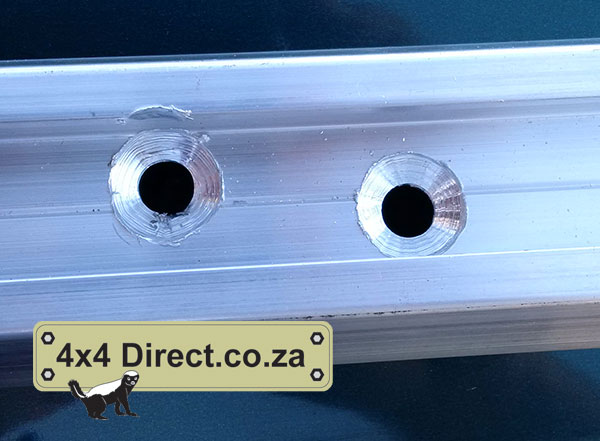
I measured the desired length and cut the ends off 45 degrees.
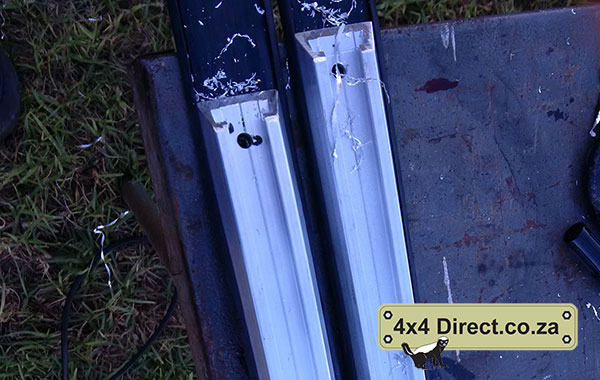
 Then I drilled 5 holes in each rail. (this was not a good idea, see further down why not) . You drill one on each end, about 5cm from the end. Then determine the center between those 2 holes and drill hole no 3 in the center. Then you determine the center between the outer holes and center hole and drill holes 4 and 5 in those centers. 5 holes might be an overkill, but rather be safe than sorry.
Then countersink the hole so that the head of the taper screw can be sunk into the countersink so that the roof rail nut can move over it. Note the roofrail nuts are supplied with the roofrack rail kit from 4x4Direct, but you can also buy separate roofrail nuts if you bought your rails elsewhere.
 Now you should mark the position of the holes on the roof.
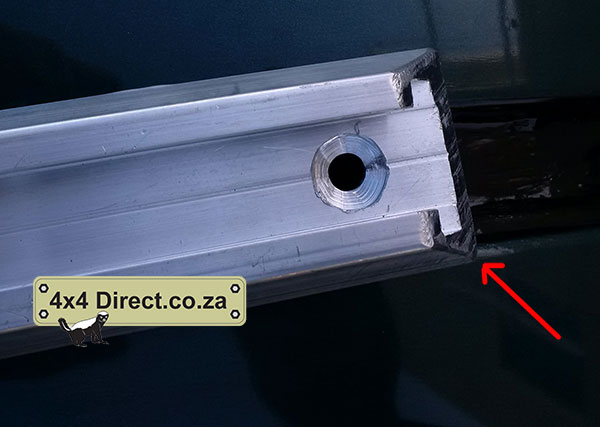
But you will note when you put the rail on the roof it does not fit the curve of the roof.
 Luckily I have specially designed rock sliders which I could use to bend the roof rack rails in order to fit the profile of the roof. I also had to twist the rails slightly using two pipe wrenches.
I used Prestik to hold the roofrack rails in position so I can mark the position of the holes on the roof.

Then with a thin drill just marked the positions where the holes must be drilled.
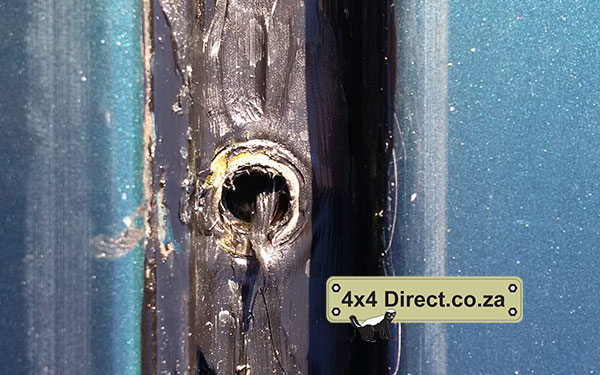
O Shucks, mistake no 2. Because of the curve of the roof one should not drill all the holes in the middle of the rail. See how this hole position ended up being on the edge of the gutter. There is no way a rivnut will fit in there. It is better to bend your rail, then put it on the roof and determine the position where you must drill the holes while the rail is on the vehicle, not on the table.
So I had to re align the middle 3 holes.
I also moved the roofrack rail to sit right on the one edge so that my middle 3 holes can be as close to the centre of the gutter as possible, but still it wasn’t enough.
I fitted a plastic pipe to a 6mm drill and first drill a 6mm hole at all positions. The purpose of the plastic pipe is to prevent the drill from punching through the roof lining ones the drill penetrated the steel. Believe me, once the drill catches the roof lining it just stuff up the hole thing because the fibers get stuck in the drill and the drill rips it apart. So you must be very careful.
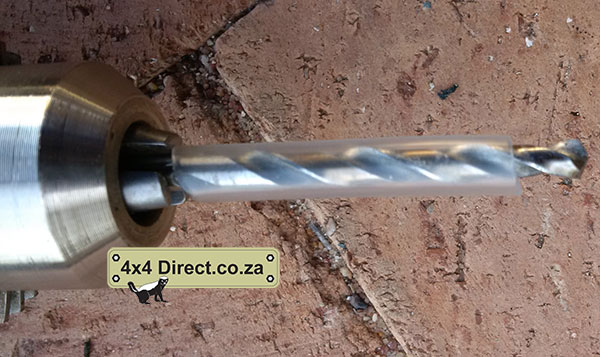
After that I used the same pipe over drill concept to drill 9mm holes in order to fit 6mm Rivnuts.
At first I wanted to fit 8mm rivnuts but then decided that it is ridiculous. You have roof steel plate that is about 0.8 to 1mm thick, what use will a 8mm bolt be. 5x 6mm bolts will be far more than enough.
So I increased the size of the holes, cleared off all burs and painted it with Hammerite Direct to Rust which is the same paint I used to fix the rust in the gutters. I then stood back and watched the paint dry.
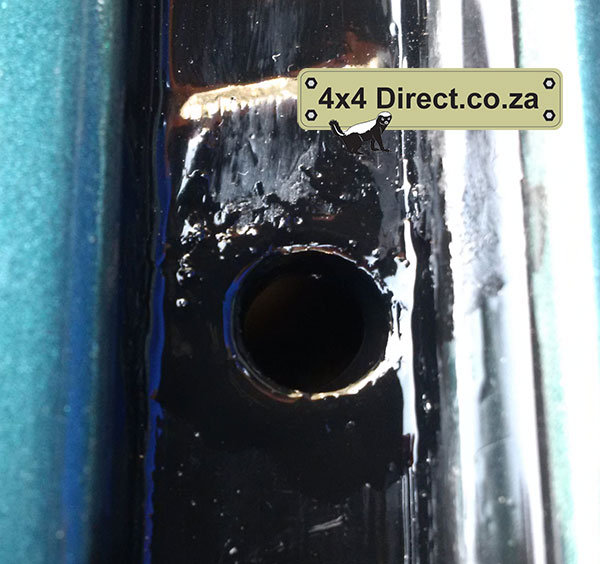
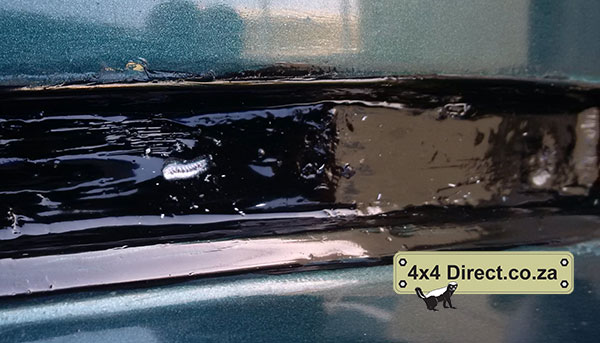
After the paint dried I applied Sika 221 to the first hole in order to seal it. I applied the Sika to each hole just before I fitted the Rivnut as to make sure the Sika did not dry out by the time I get to hole No 10.
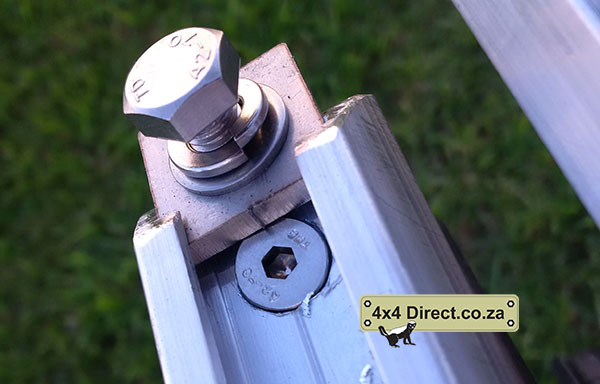
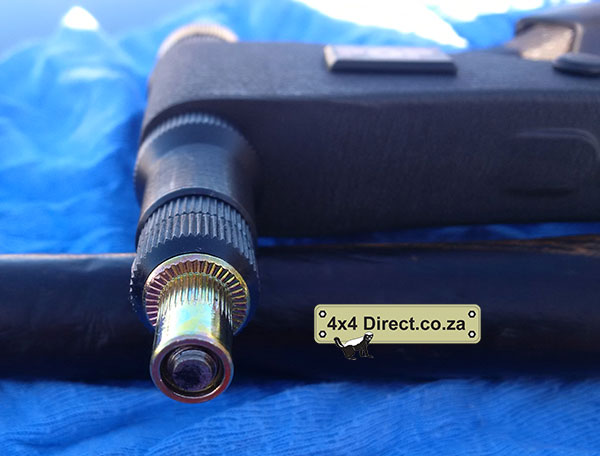
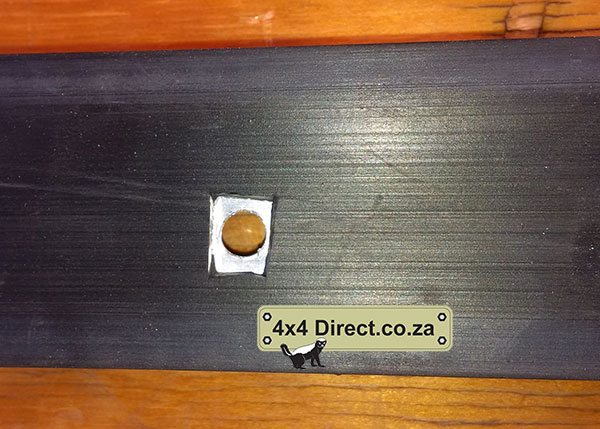
I applied a rivnut to the rivnut tool. Note that you must screw the tool’s bit in all the way. If you do not screw it in all the way the rivnut will deform when you pull it and you want get a bolt in. If that rivnut deform in the hole, you are a bit screwed because you will battle to get it out again, so make sure you do it right.Make sure you use rivnuts with knurling as seen in the pic below, it prevents it from turning in the hole.
Push the rivnut in the hole, tap the top of the rivnut tool lightly with a hammer to make sure it went all the way in (with the emphasis on lightly) .
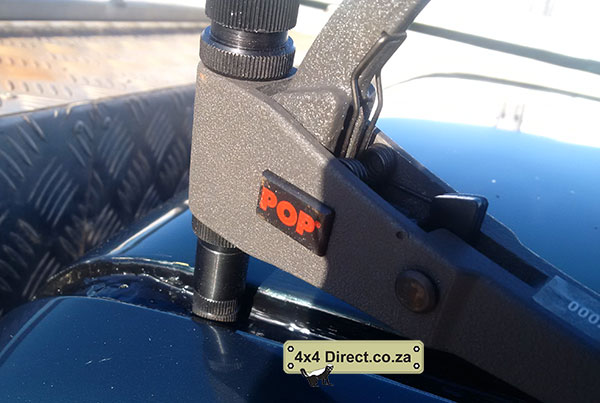
Now pull the handle so the rivnut can flare open.
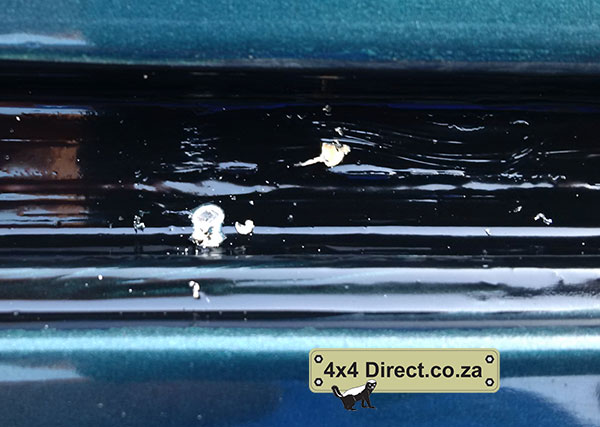
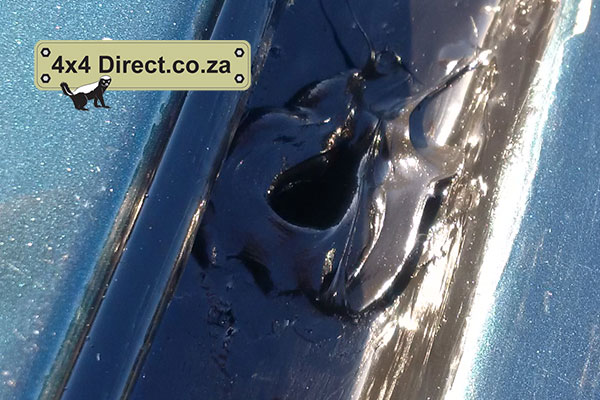
Then smooth off the bulging Sika .
It is very hard to pull the rivnut in (especially the 6mm) with the small tool. I then used a bolt and two flat washers to tighten the rivnut further. Just be very careful not to strip the rivnut. You will sommer dadelik feel when the rivnut is at its limit. You just tighten the bolt with a small socket and ratchet and tighten it, that will let the rivnut flare even more. NOT that again this bolt must be long enough to penetrate the whole length of the rivnut, but this time be careful that it is not so long that it also penetrates your roof lining.

And now it will look like so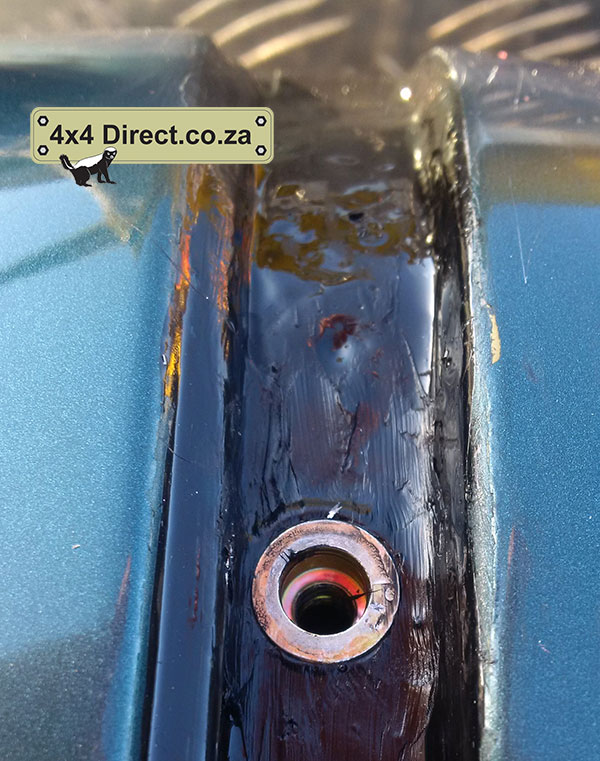 Then leave the Sika to dry without watching. Instead I prepared the rails while waiting for the Sika to dry.
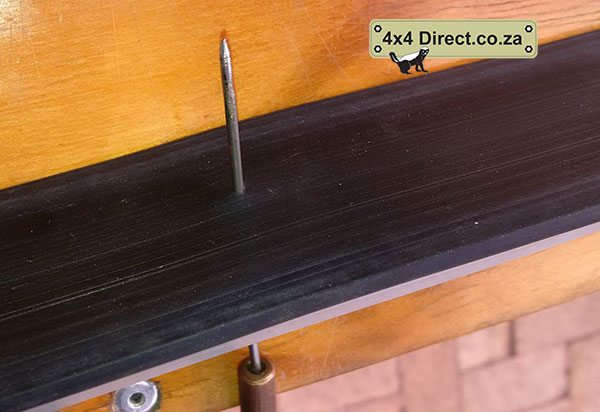
I’ve put the rubbers on the rails, then used a sharp object to punch through the rubber in order to make a mark to see where to cut the hole for the bolt.
And then cut a hole out of the rubber, way bigger than the hole so I can see the rivnut properly when I put the rail back onto the roof.
And then it was a matter of fitting it.
I applied some Sika 221 to the bolt before fitting it. The reason is two fold;
1. So that water cannot leak through past the bolt
2. The Sika will prevent the bolt from getting loose due to vibration.
I tightened them and they looked OK.

Coming up next: Now I have the rails, next up I need some load bars, watch this space.
4x4Direct South Africa